Kia Optima: Automatic Transaxle Control System / Shift Lever
Components and components location
| Component |
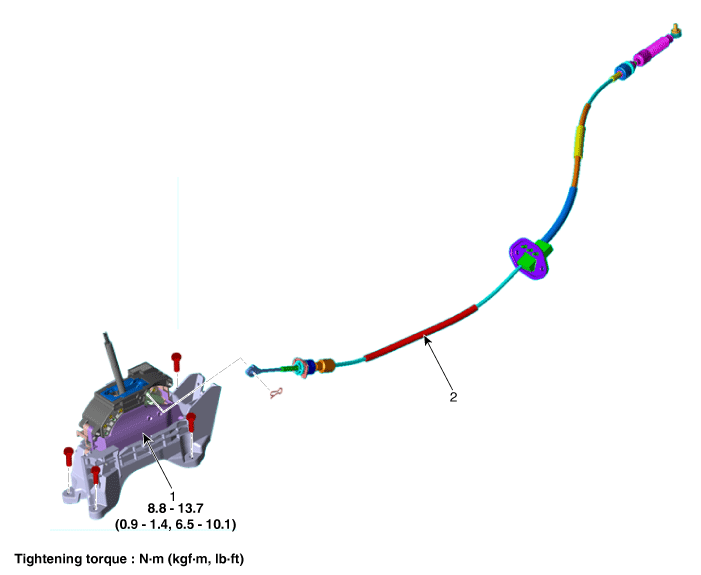
| 1. Shift Lever Assembly |
2. Shift Cable Assembly |
Repair procedures
| Removal |
| 1. |
Shift the gear to "N". |
| 2. |
Remove the floor console assembly. (Refer to Body - "Floor Console Assembly") |
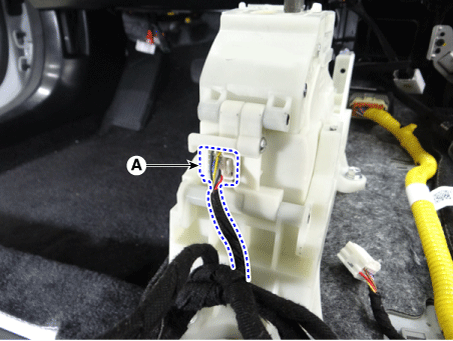
| 3. |
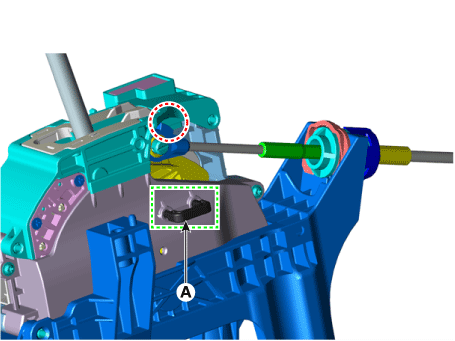
Disconnect the main connector (A).
|
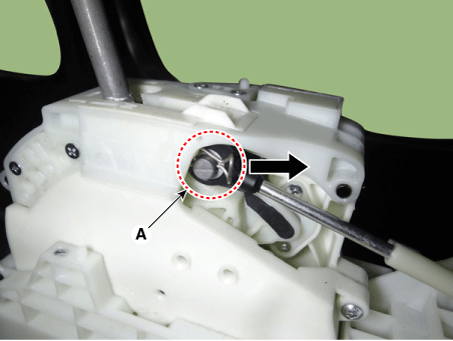
| 4. |
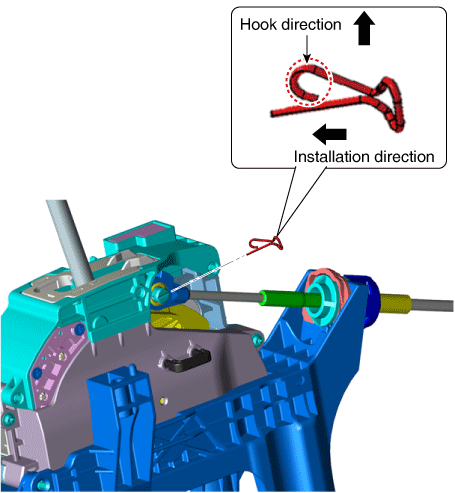
Remove the snap pin (A).
|
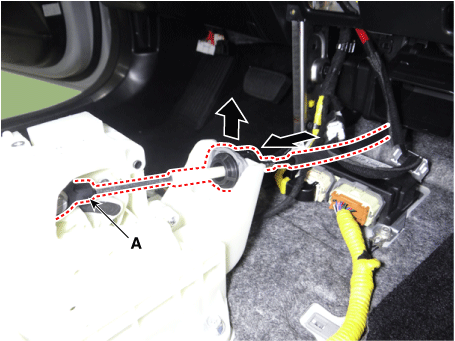
| 5. |
Remove the shift cable (A) from the shift lever.
|
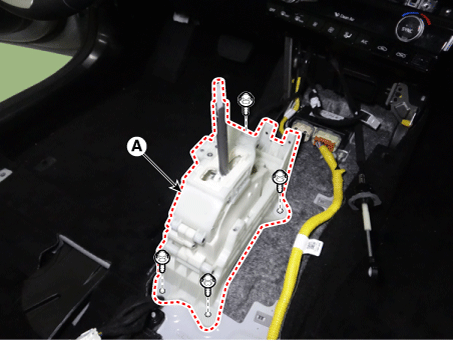
| 6. |
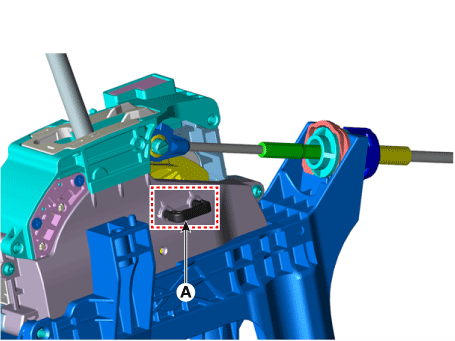
Remove the shift lever assembly (A).
|
| Installation |
| 1. |
Install in the reverse order of removal.
|
 Inhibitor Switch
Specifications
Specification
Item
Specification
Power supply (V)
4.5 - 5.5 V
Output type
Shifting ran ...
 Shift Cable
Components and components location
Component
1. Shift Lever Assembly
2. Shift Cable Assembly
Repair procedures
Removal
1.
Sh ...
Other information:
Kia Optima DL3 2019-2025 Owner's Manual: Engine start/stop button position
OFF To turn off the engine (START/RUN position) or vehicle power (ON position), press the engine start/stop button with the shift lever in the P (Park) position. When you press the engine start/stop button without the shift lever in the P (Park) position, the engine start/stop button will not ...
Kia Optima DL3 2019-2025 Owner's Manual: Reverse parking aid function
While the vehicle is moving in reverse, the outside rearview mirror( s) will move downward to aid reverse parking. According to the position of the outside rearview mirror switch, the outside rearview mirror( s) will operate as follows: L/R : When the remote control outside rearview mirror sw ...

