Kia Optima DL3: Drive Belt System / Crankshaft Damper Pulley
Components and components location
| Components |
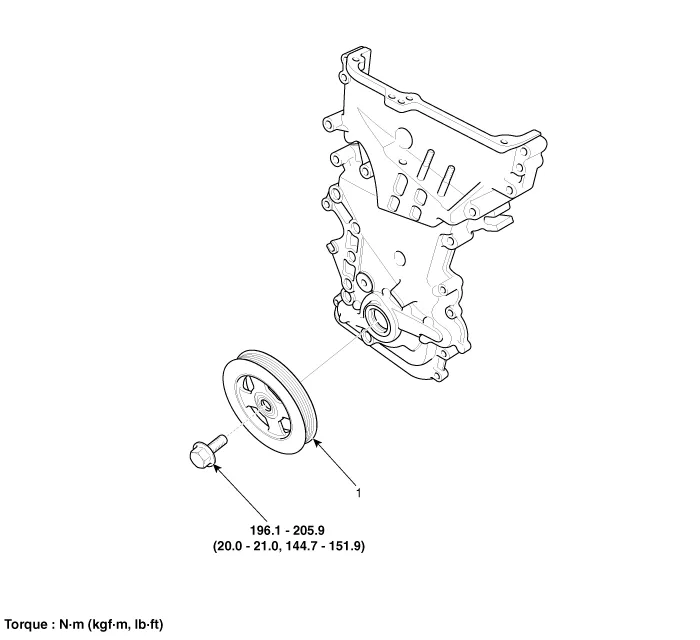
| 1. Crankshaft damper pulley
|
Repair procedures
| Removal and Installation |
| 1. |
Remove the RH front wheel. |
| 2. |
Remove the drive belt. (Refer to Drive Belt System - "Drive Belt") |
| 3. |
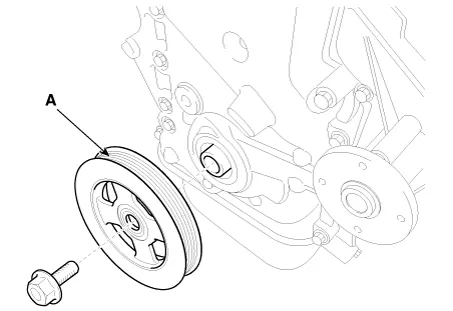
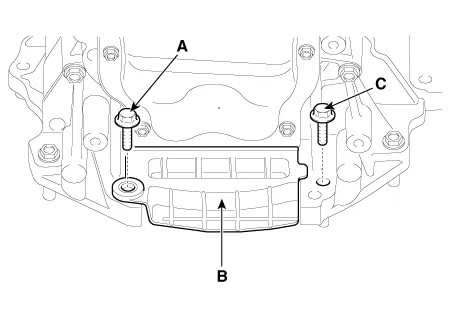
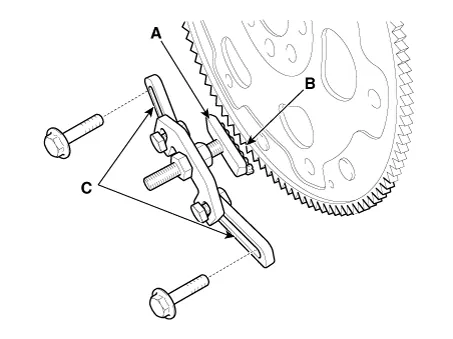
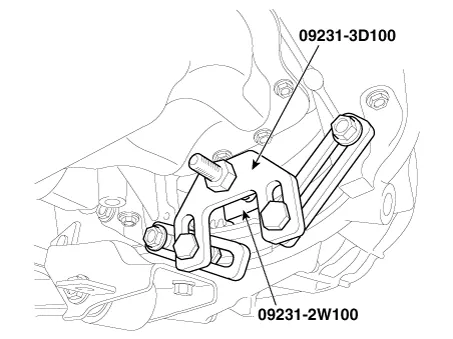
Remove the crankshaft damper pulley (A).
|


| 4. |
Install in the reverse order of removal. |
| Inspection |
Check the crankshaft damper pulley for vibration in rotation, oil dust deposit of V-ribbed part. Replace if necessary.
Repair procedures Removal and Installation 1. Remove the drive belt. (Refer to Drive Belt System - "Drive Belt") 2.
Other information:
Kia Optima DL3 2019-2026 Service and Repair Manual: Integrated Memory Seat (IMS) Switch
Schematic diagrams Connector and Terminal Function Repair procedures Removal When prying with a flat-tip screwdriver or use a prying trim tool, wrap it with protective tape, and apply protective tape around the related parts, to prevent dam
Kia Optima DL3 2019-2026 Service and Repair Manual: Keyless Entry And Burglar Alarm
Specifications Specification Item Specification Operating temperature 14 - 140°F (-10 - 60°C) RF Modulation FSK RF Frequency 433.
Categories
- Manuals Home
- Kia Optima Owners Manual
- Kia Optima Service Manual
- Rear Brake Disc
- Automatic Transaxle System
- Engine Mechanical System
- New on site
- Most important about car
