
Kia Optima DL3: Trunk Trim / Rear Package Tray Trim
Components and components location
| Component Location |
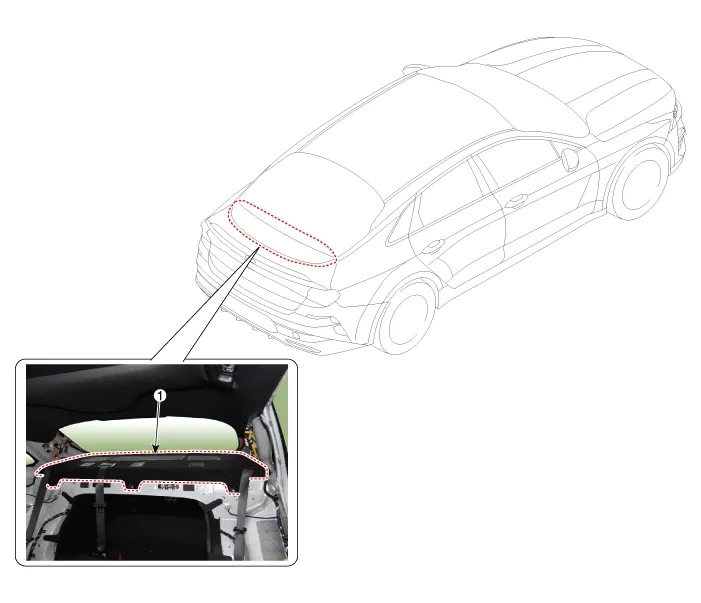
| 1. Rear package tray trim |
Repair procedures
| Replacement |
Rear package tray trim
|

| 1. |
Remove the rear seat cushion assembly. (Refer to Rear Seat - "Rear Seat Assembly") |
| 2. |
Remove the rear seat cushion assembly. (Refer to Rear Seat - "Rear Seat Assembly") |
| 3. |
Remove the rear door pillar trim. (Refer to Interior Trim - "Rear Pillar Trim") |
| 4. |
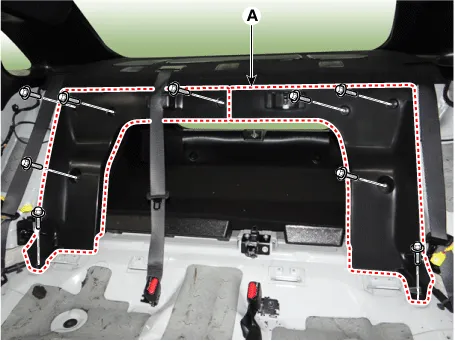
Loosen the mounting bolts and remove the luggage partition center trim cover (A).
|
| 5. |
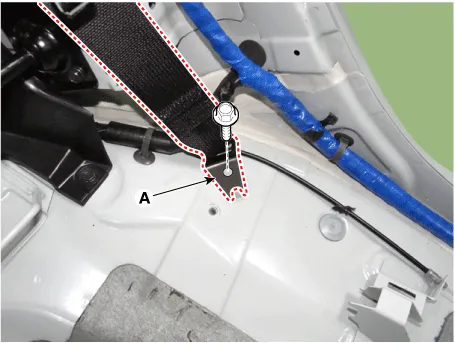
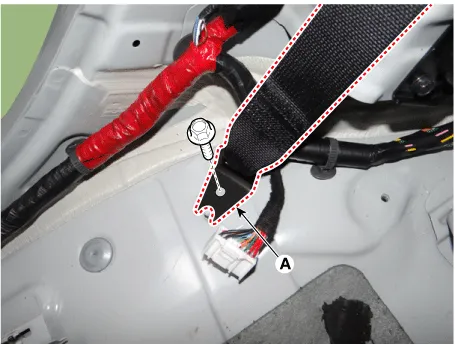
Loosen the mounting bolt, remove the rear seat betl lower anchor (A).
[LH]
[RH]
[Center]
|
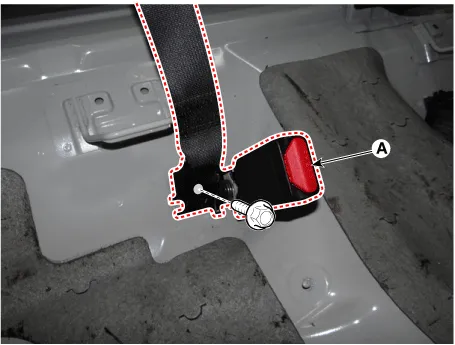
| 6. |
Using a flat-tip screwdriver and remove rear package tray trim (A).
|
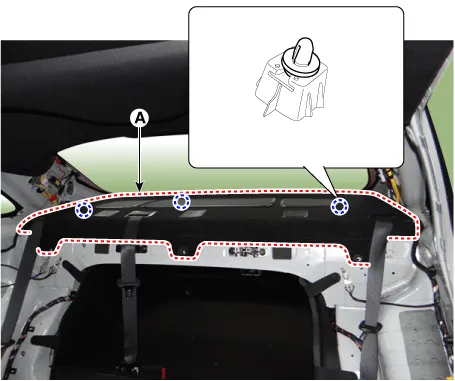
| 7. |
To install, reverse the removal procedure.
|

Components and components location Component Location [General type] 1. Luggage partition center trim 2. Rear package tray trim 3.
Components and components location Component Location 1. Luggage side trim Repair procedures Replacement • When removing with a flat-tip screwdriver or remover, wrap protective tape around the tools to prevent damage to components.
Other information:
Kia Optima DL3 2019-2026 Service and Repair Manual: Keyless Entry And Burglar Alarm
Specifications Specification Item Specification Operating temperature 14 - 140°F (-10 - 60°C) RF Modulation FSK RF Frequency 433.
Kia Optima DL3 2019-2026 Service and Repair Manual: Mood Lamp Unit
Schematic diagrams Connector and Terminal function Repair procedures Removal When removing with a flat-tip screwdriver or remover, wrap protective tape around the tools to prevent damage to components.
Categories
- Manuals Home
- Kia Optima Owners Manual
- Kia Optima Service Manual
- Heating, Ventilation and Air Conditioning
- Headlamps
- Suspension System
- New on site
- Most important about car
