Symptoms
|
Possible Causes
|
Remedy
|
Coolant leakage
|
| • |
From the thermostat gasket
|
|
Check the mounting nuts
|
| • |
Check the torque of the mounting nuts
|
|
| • |
Retighten the bolts and check leakage again.
|
|
Check the gasket for damage
|
| • |
Check gasket or seal for damage
|
|
| • |
Replace gaskets and reuse the thermostat.
|
|
Cooled excessively
|
| • |
Low heater performance (cool air blows-out)
|
| • |
Thermogauge indicates 'LOW'
|
|
Visually check after removing the radiator cap.
|
| • |
Insufficient coolant or leakage.
|
|
| • |
After refilling coolant, recheck.
|
|
KDS check&Starting engine
|
| • |
Check the fan motor performance as temperature varies.
|
| • |
Check connection of the fan clutch or the fan motor.
|
※ If the fan clutch is always connected, there will be a noise at idle.
|
| • |
Check the engine coolant sensor, wiring and connectors.
|
| • |
Check the fan motor, the relay and the connector.
|
| • |
Replace the components.
|
|
Remove the thermostat and inspect
|
| • |
Check if there are dusts or chips in the thermostat valve.
|
| • |
Check adherence of the thermostat.
|
|
| • |
Clean the thermostat valve and reuse the thermostat.
|
| • |
Replace the thermostat, if it doesn't work properly.
|
|
Heated excessively
|
| • |
Thermogauge indicates 'HI'
|
|
Visually check after removing the radiator cap.
|
| • |
Insufficient coolant or leakage.
※ Be careful when removing a radiator cap of the overheated vehicle.
|
| • |
Check air in cooling system.
|
|
| • |
After refilling coolant, recheck.
|
| • |
Check the cylinder head gaskets for damage and the tightening
torque of the mounting bolts.
|
|
KDS check&Starting engine
|
| • |
Check the fan motor performance as temperature varies.
|
| • |
Check if the fan clutch slips.
|
| • |
Check the water pump adherence or impeller damaged.
|
|
| • |
Check the engine coolant sensor, wiring and connectors.
|
| • |
Check the fan motor, the relay and the connector.
|
| • |
Replace the fan clutch, if it doesn't work properly.
|
| • |
Replace the water pump, if it doesn't work properly.
|
|
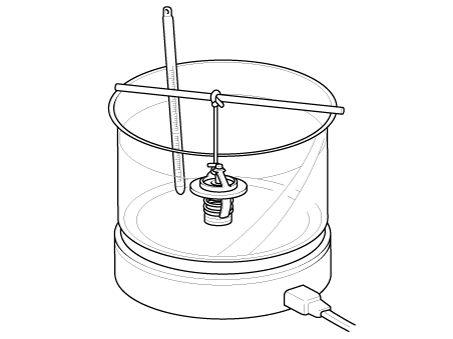
Immerse the thermostat in boiling water and inspection.
|
| • |
After removing the thermostat, check it works properly.
|
※ Check the thermostat opens at the valve opening temperature.
|
| • |
Replace the thermostat, if it doesn't work properly.
|
|
Other information:
Components and components location
Component Location
1. Cowl cross bar assembly
Repair procedures
Replacement
•
When removing with a flat- ...
Headrest
The rear seat is equipped with headrests in all the seating positions for the
occupant's safety and comfort.
The headrest not only provides comfort for passengers, but also helps protect
the head and neck in the event of a collision.
For maximum effectiveness in case of an accident ...
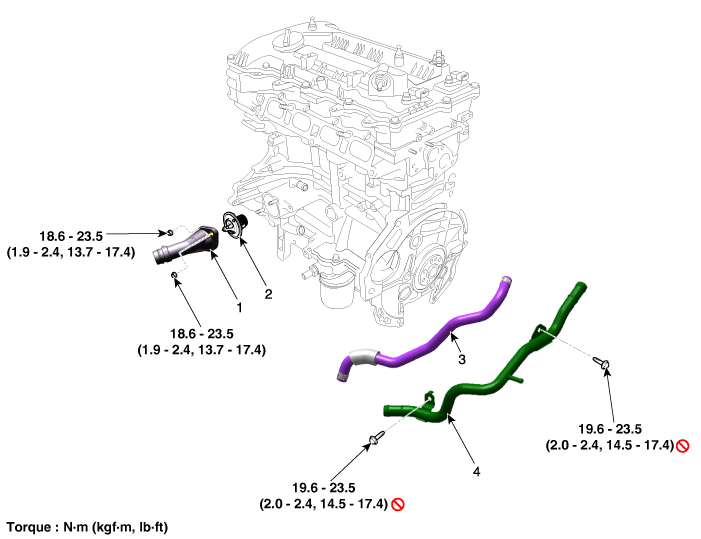
 Water pump
 Cylinder Block

