Kia Optima: Front Bumper / Front Bumper Beam Assembly
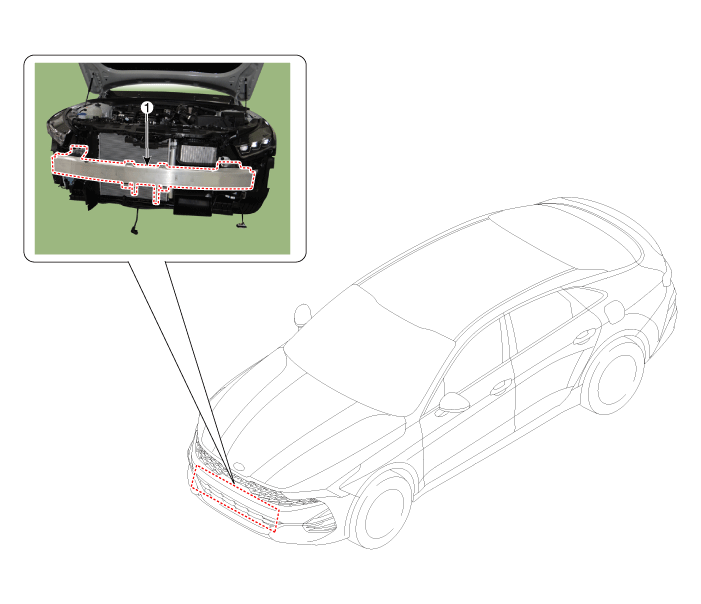
Components and components location
| Component Location |

| 1. Front bumper beam assembly
|
Repair procedures
| Replacement |
Put on gloves to prevent hand injuries. |
|
| 1. |
Remove the front bumper assembly. (Refer to Front bumper - "Front Bumper Assembly") |
| 2. |
Remove the ambient temperature sensor. (Refer to Heating,Ventilation, Air Conditioning - "Ambient Temperature Sensor") |
| 3. |
Remove the FCA Radar. (Refer to Advancde Driver Assistance System (ADAS) - "Front Radar Unit") |
| 4. |
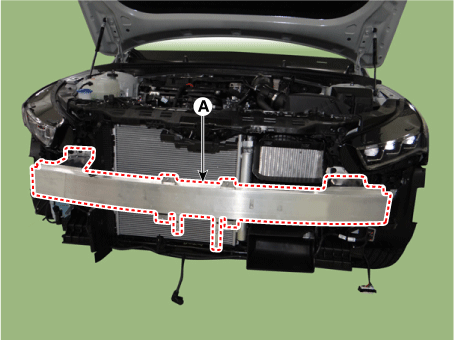
Loosen the mounting bolts, remove the front bumper beam assembly (A).
|
| 5. |
To install, reinstall in reverse order of removal procedure.
|
 Radiator Grill
Components and components location
Component Location
1. Radiator grill
Repair procedures
Replacement
& ...
 Rear Bumper
Components and components location
Components
1. Rear bumper assembly
2. Rear bumper side under cover
3. Rear bumper side bracket [LH]
4. Rear bumper side ...
Other information:
Kia Optima DL3 2019-2025 Owner's Manual: Engine Oil Pressure Warning Light
This warning light illuminates: Once you set the ignition switch or Engine Start/Stop Button to the ON position. - It remains on until the engine is started. When the engine oil pressure is low. If the engine oil pressure is low: 1. Drive carefully to the nearest safe location and stop ...
Kia Optima DL3 2019-2025 Owner's Manual: Exterior overview
■ Front view 1. Hood (Features of your vehicle) 2. Head lamp (Features of your vehicle) Head lamp (Maintenance) 3. Fog lamp (Features of your vehicle) Fog lamp (Maintenance) 4. Wheel and tire (Maintenance) Wheel and tire (Specifications) 5. Outside rearview mirror 6. Panoramic sunroof ...


