Kia Optima: Front Door / Front Door Trim
Kia Optima DL3 2019-2025 Service and Repair Manual / Body (Interior and Exterior) / Front Door / Front Door Trim
Components and components location
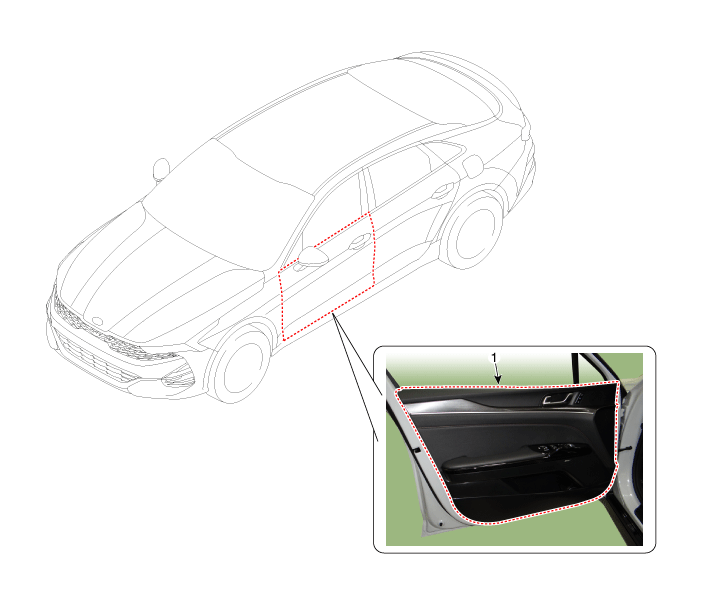
| Component Location |

| 1. Front door trim |
Repair procedures
| Replacement |
|
| 1. |
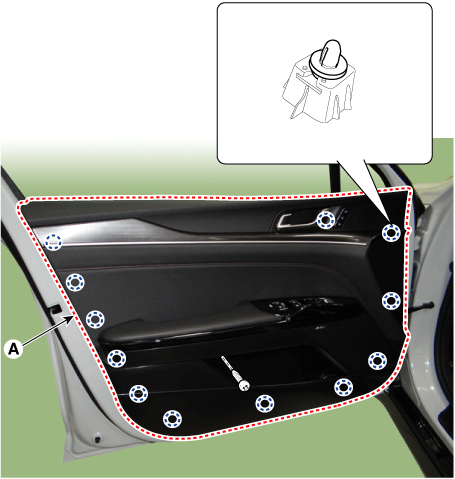
Loosen the mounting screw and remove the front door trim (A).
|
| 2. |
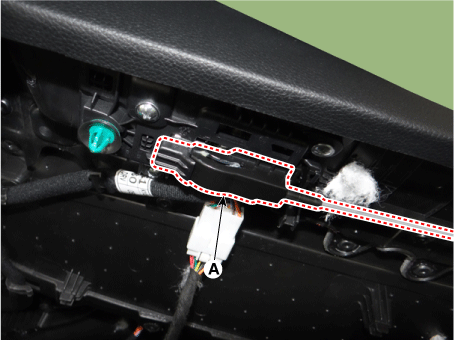
Remove the front door inside handle cage (A).
|
| 3. |
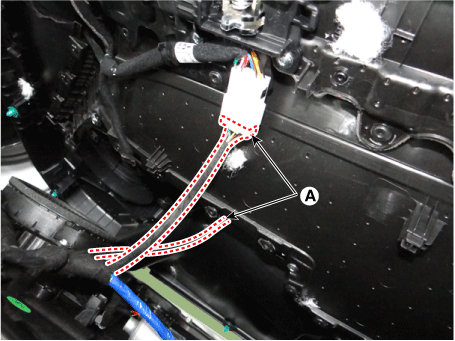
Disconnect the connectors (A).
|
| 4. |
To install, reverse the removal procedure.
|
 Front Door
Components and components location
Components
1. Front door trim
2. Front door belt inside weatherstrip
3. Front door module
4. Front door panel
5. Front do ...
 Front Door Window Glass
Components and components location
Component Location
1. Front door window glass
Repair procedures
Replacement
...
Other information:
Kia Optima DL3 2019-2025 Owner's Manual: Notes on the safe use of the Tire Mobility Kit
Park your car at the side of the road so that you can work with the Tire Mobility Kit away from moving traffic. To be sure your vehicle will not move, even when you're on fairly level ground, always set your parking brake. Only use the Tire Mobility Kit for sealing/inflation passenger c ...
Kia Optima DL3 2019-2025 Service and Repair Manual: Power Seat Motor
Components and components location Components 1. Lumbar support motor 2. Reclining motor 3. Front height motor 4. Rear height motor 5. Slide motor Repair procedures Inspection 1. Disconnect the negative batt ...
Copyright © www.kioptima.com 2017-2025


