
Kia Optima DL3: Front View Camera System / Front View Camera Unit
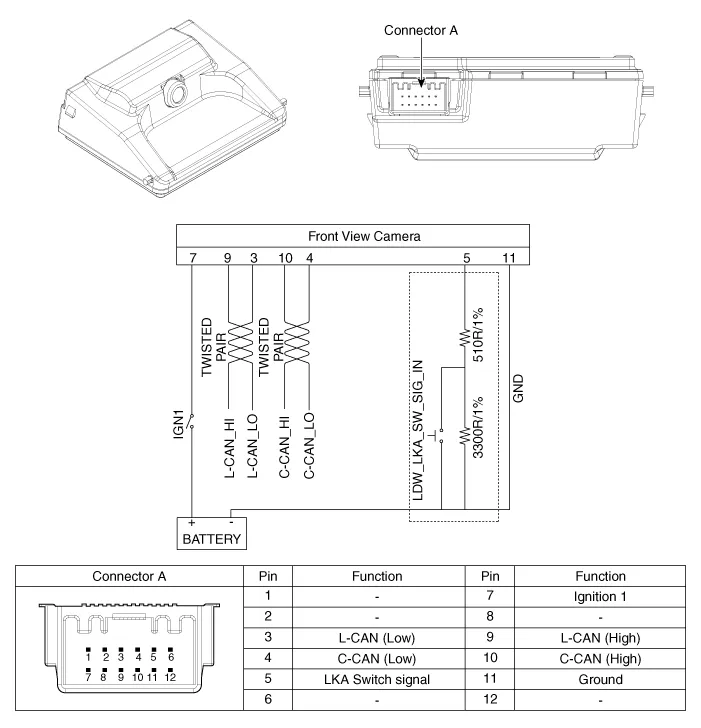
Schematic diagrams
| Circuit Diagram |
Repair procedures
| Inspection |
| 1. |
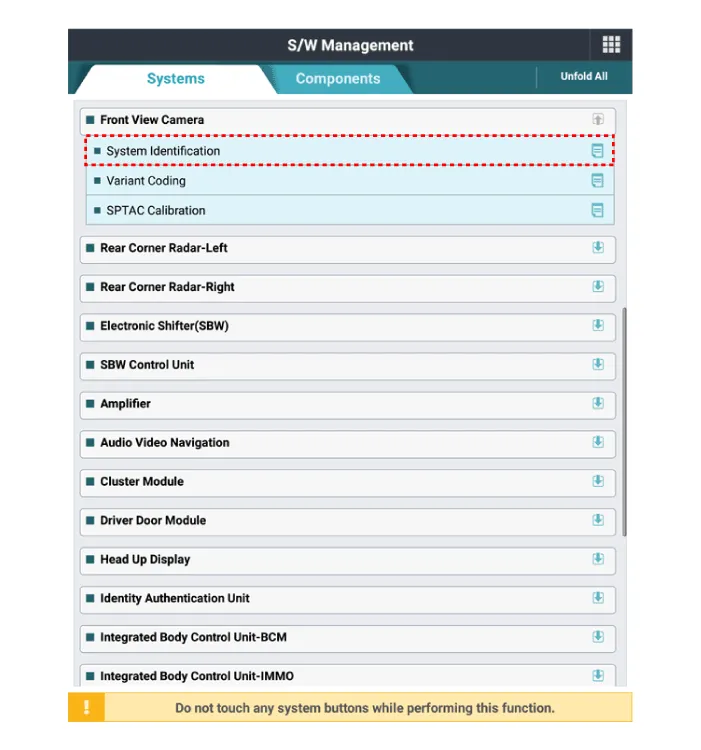
In the body electrical system, failure can be quickly diagnosed by using Kia Diagnostic System (KDS). The diagnostic system (KDS) provides the following information.
|
| Removal |
| 1. |
You should read the specification information for the front view camera that is installed in the vehicle before replacing it with a new front view camera.
|
| 2. |
Disconnect the negative (-) battery terminal. |
| 3. |
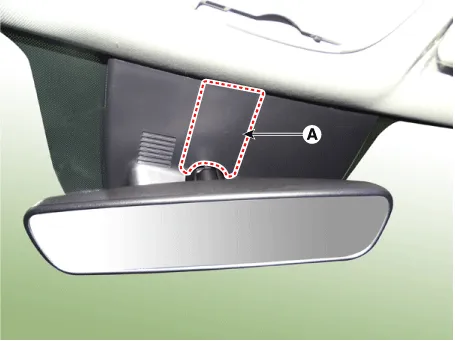
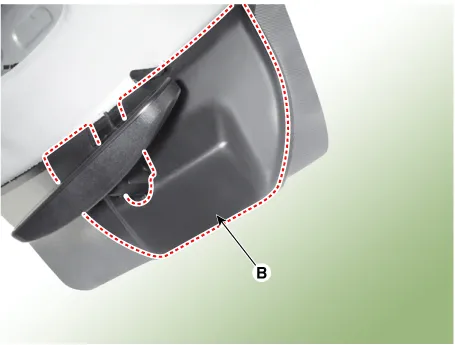
Remove the inside rear view mirror cover (A) and unit cover (B).
|
| 4. |
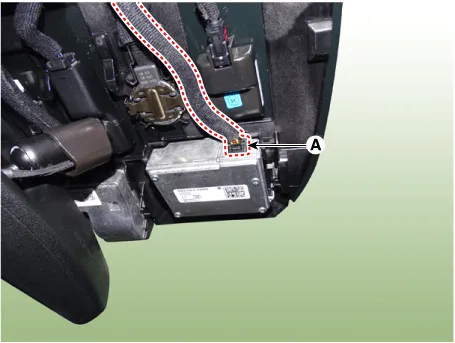
Disconnect the front view camera connector (A).
|
| 5. |
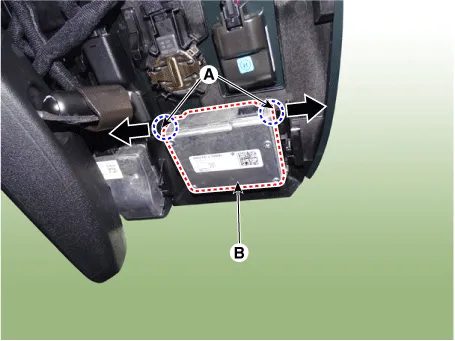
Separate the fixed points (A) of coupler, remove the front view camera (B).
|

| Installation |
| 1. |
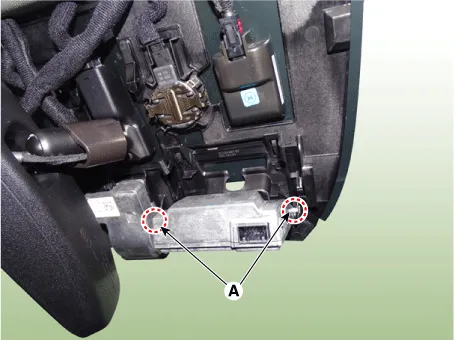
Install in the reverse order of removal.
|
| 2. |
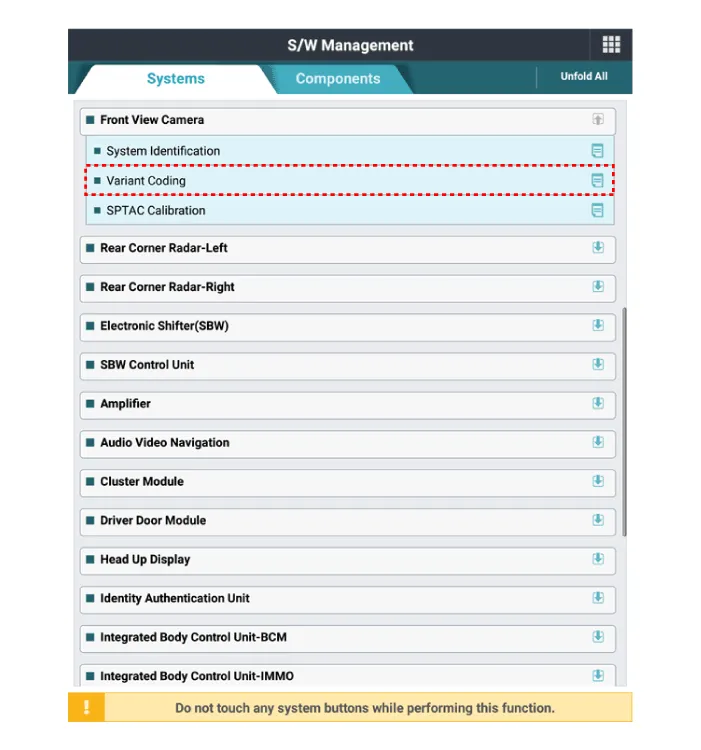
When replacing the front view camera with a new one, perform the "Variant Coding" procedure using KDS.
|
| 3. |
Perform the front view camera unit calibration. (Refer to Front View Camera Unit - "Adjustment") |
| Adjustment |
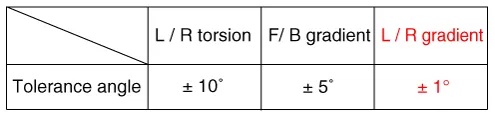
Perform the camera calibration in the following case.
Check the procedure below before performing the camera calibration.
|
Service Point Target Auto Calibration (SPTAC) Procedure
| 1. |
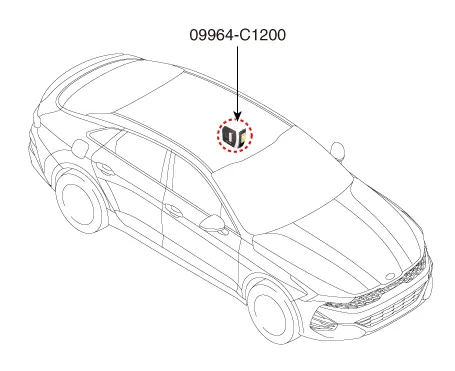
Install the SST (09964-C1200) on the roof center above the vehicle's front windshield.
|
| 2. |
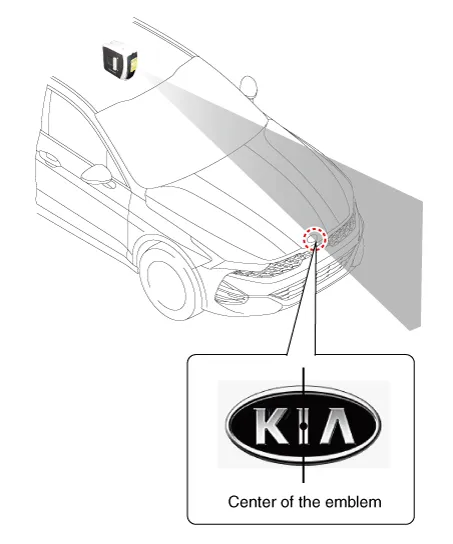
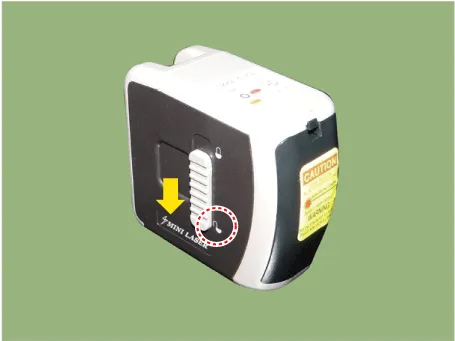
Have the laser illuminate starting from the roof center and to passing through the center of the emblem.
|

| 3. |
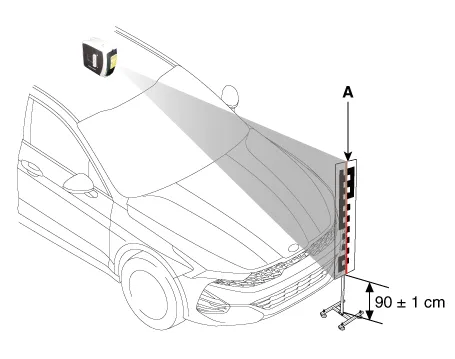
Place the calibration target (09890-3V100) so that it adheres by 0 cm to the bumper front. [max. tolerance: 5 cm (1.97 in.)]
|

| 4. |
Set the calibration target height to 90 ± 1 cm (35.43 ± 0.39 in.) from the ground and align the center of calibration target with center line (A) of laser beam. The target is placed along the vehicle’s longitudinal axis (centerline) within ± 3cm (± 1.18 inch) of target center.
|

| 5. |
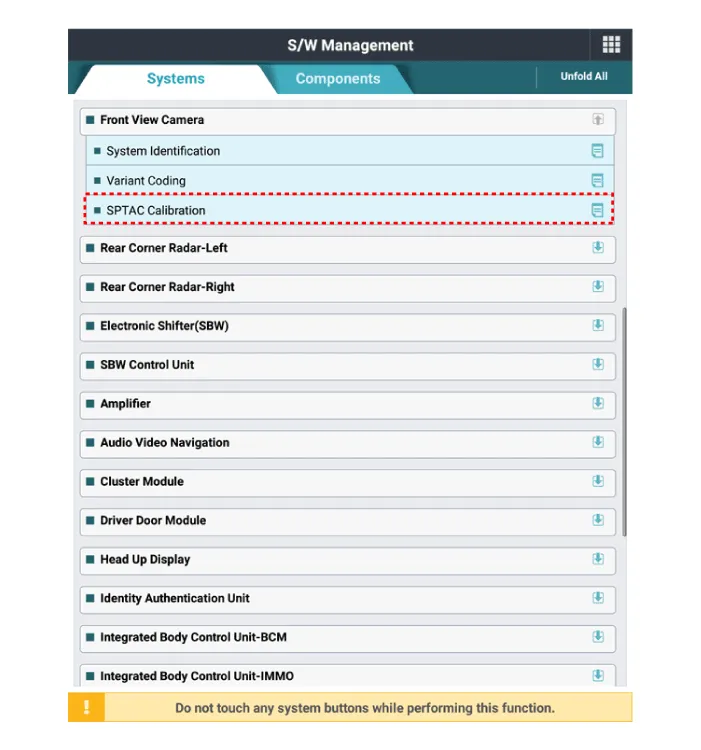
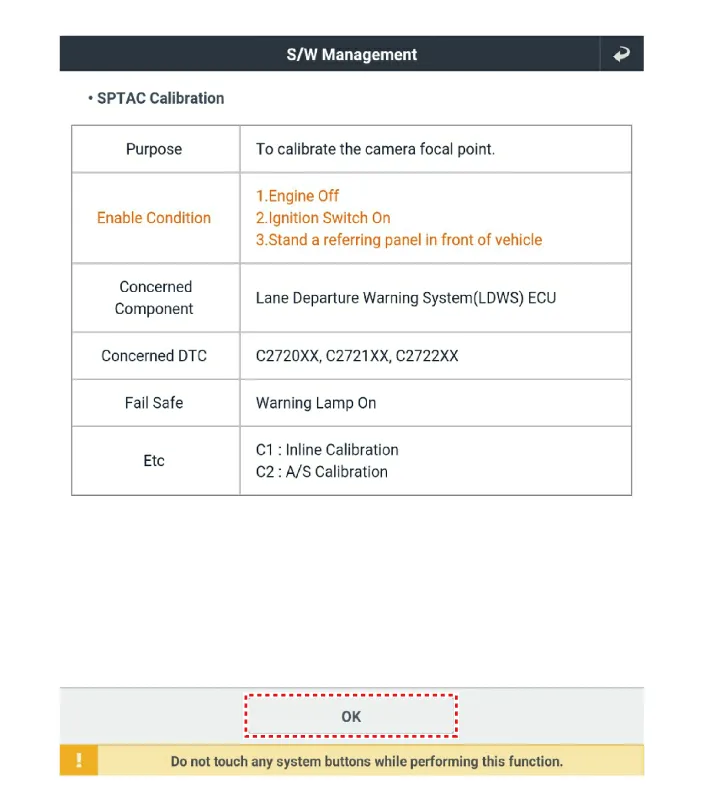
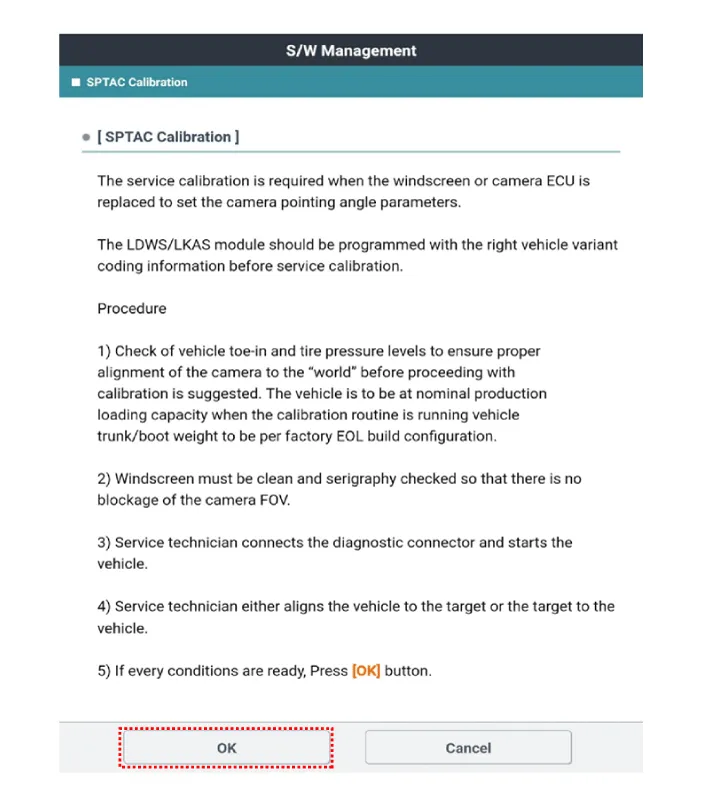
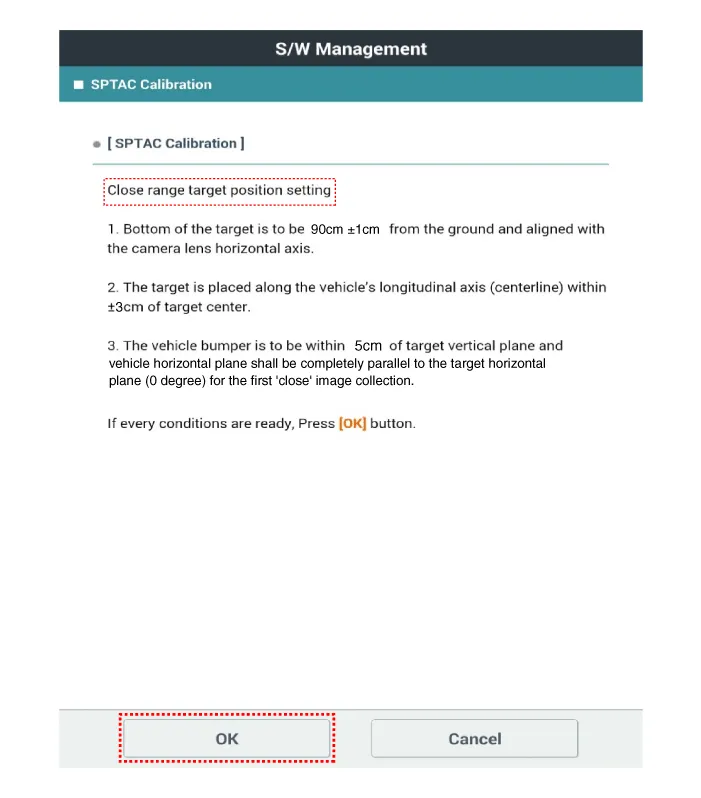
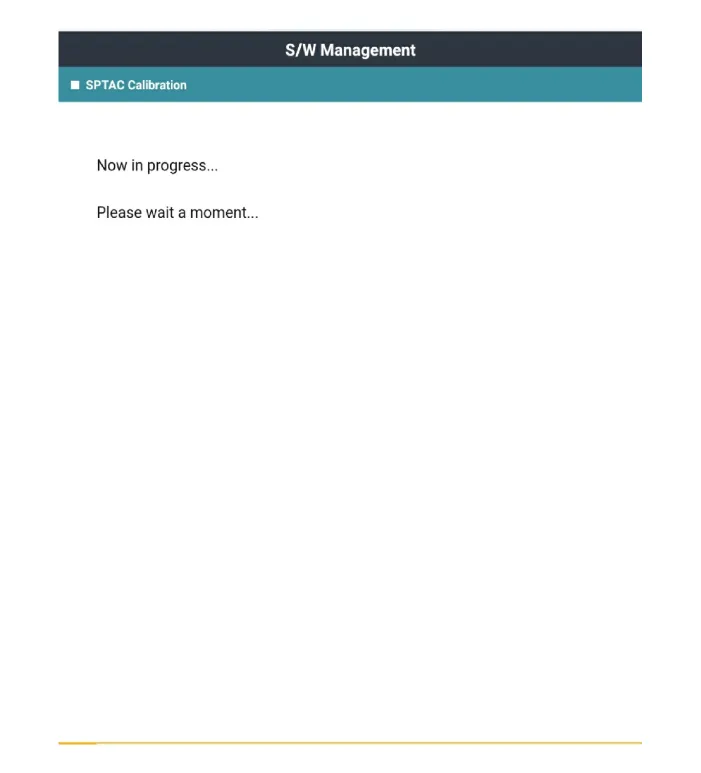
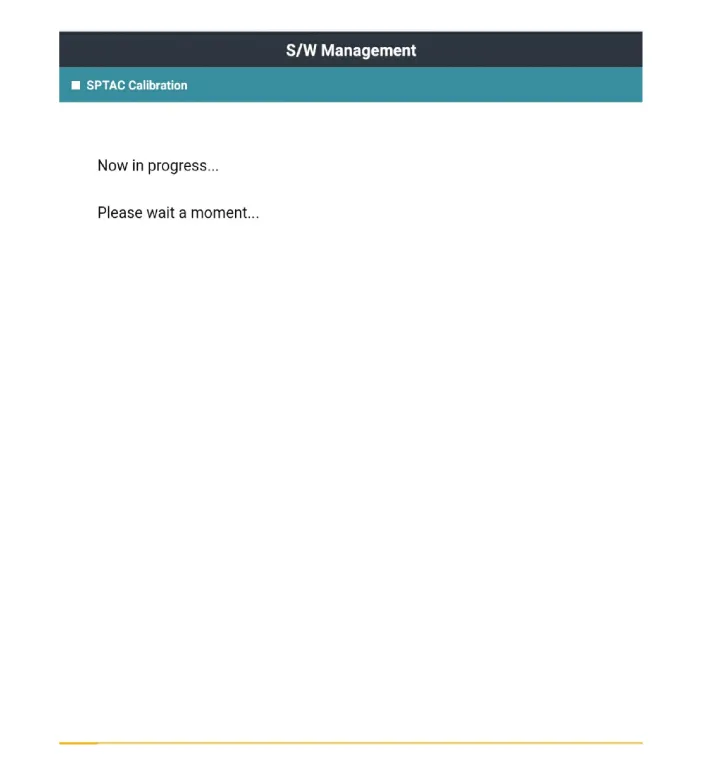
Perform the "SPTAC Calibration" using the KDS.
|
| 6. |
Perform the short-distance calibration by selecting the "OK" message on the KDS after checking the calibration target location.
|
| 7. |
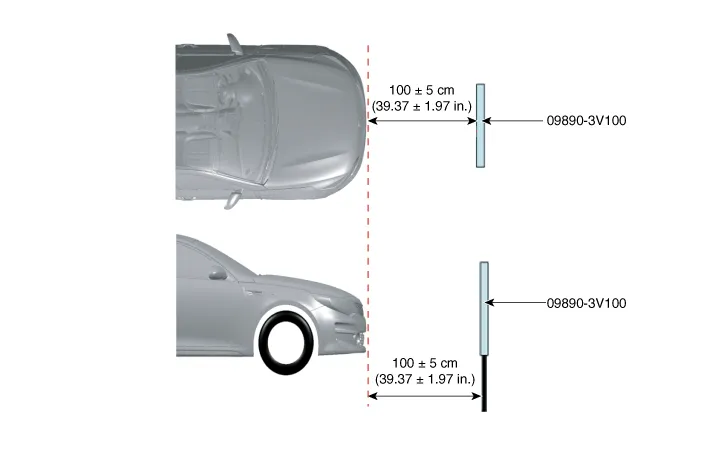
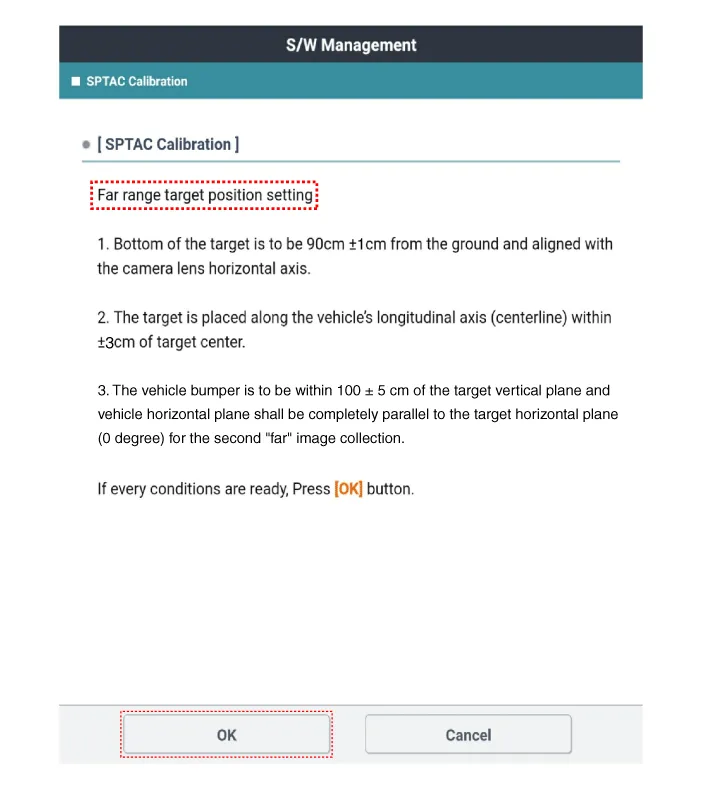
Move the calibration target (09890-3V100) at 100 cm (39.37 in.) from the bumper. [max. tolerance : ± 5 cm (± 1.97 in.)]
|
| 8. |
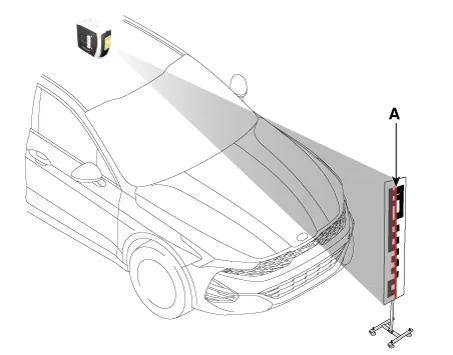
Set the calibration target height to 90 ± 1 cm (35.43 ± 0.39 in.) from the ground and align the center of calibration target with center line (A) of laser beam. The target is placed along the vehicle’s longitudinal axis (centerline) within ± 3cm (± 1.18 inch) of target center.
|
| 9. |
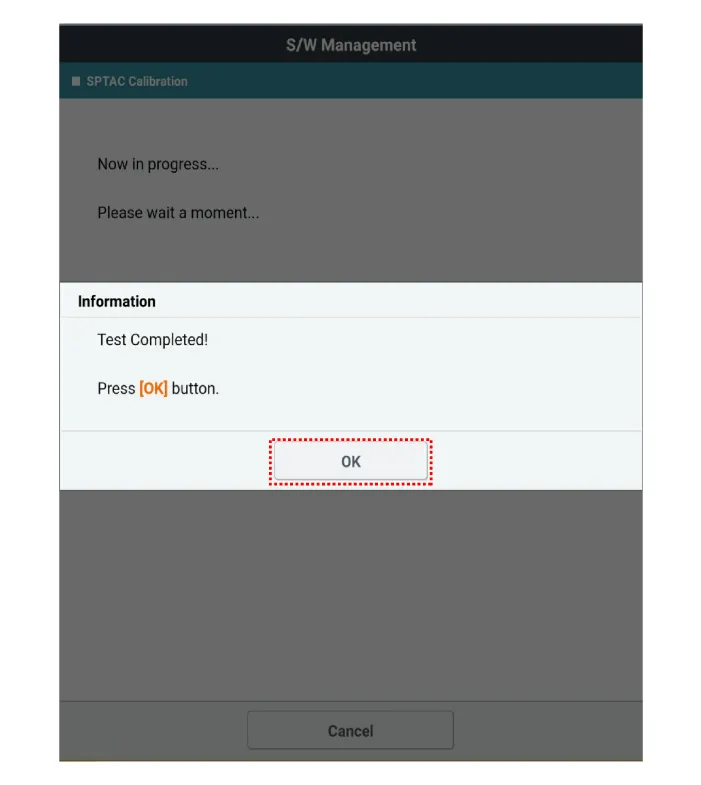
Perform the long-distance calibration by selecting the "OK" message on the KDS after checking the calibration target location.
|
| 10. |
Clear the diagnostic trouble codes (DTC) using the KDS. |
| 11. |
Check the DTC and warning lamp. |
Components and components location Components Location 1. Front view camera 2. AVN Head unit 3. Cluster 4. LFA,SCC ON/OFF switch (Remote control switch) 5.
Schematic diagrams Connector and Terminal Function Repair procedures Inspection 1. Disconnect the negative (-) battery terminal.
Other information:
Kia Optima DL3 2019-2026 Service and Repair Manual: License Lamps
Repair procedures Removal 1. Disconnect the negative battery terminal. 2. Remove the lcense lamp (A) by pressing the hook. 3. Disconnect the lcense lamp connector (A).
Kia Optima DL3 2019-2026 Service and Repair Manual: Auto Defogging Sensor
Description and operation Description The auto defogging sensor is installed on the front window glass. The sensor judges and sends signal if moisture occurs to blow out wind for defogging. The air conditioner control module receives signal from the sensor and restrains moisture and eliminate defog by controlling the intake actu
Categories
- Manuals Home
- Kia Optima Owners Manual
- Kia Optima Service Manual
- Restraint
- CVVT Oil Control Valve (OCV)
- Instrument panel overview
- New on site
- Most important about car
