
Kia Optima DL3: Tires/Wheels / Wheel
Repair procedures
| Removal |
| 1. |
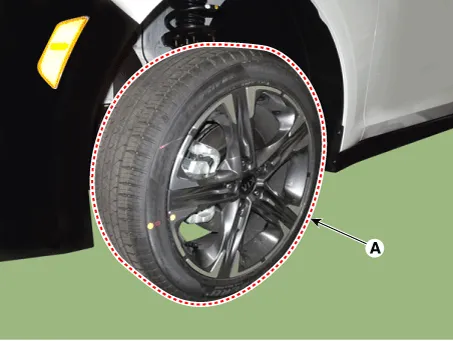
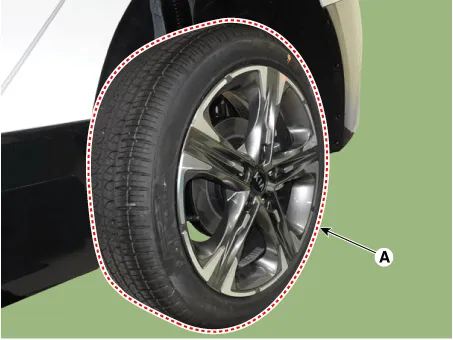
Remove the wheel and tire (A). [Front]
[Rear]
|
| Installation |
| 1. |
Install the wheel and tire (A). [Front]
[Rear]
|
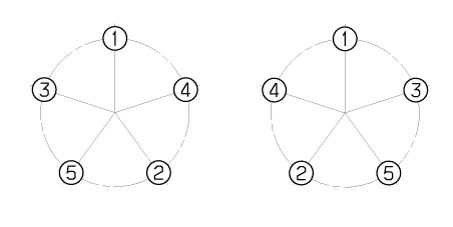
Hub Nut Tightening Sequence
| 1. |
Tighten the hub nuts as follows.
|

Run out inspection
| 1. |
Jack up the vehicle. |
| 2. |
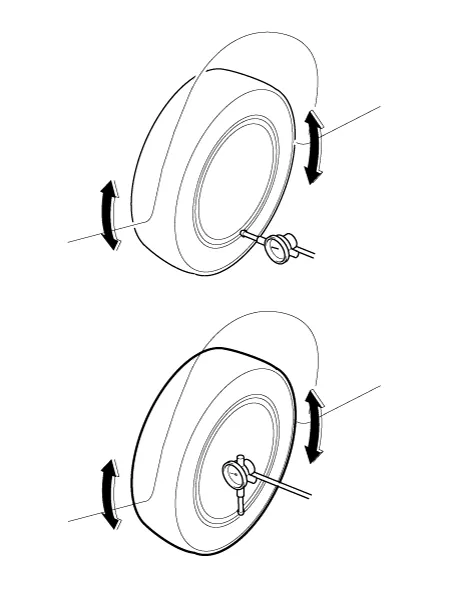
Measure the wheel Run-out by using a dial indicator as illustration below.
|
| 3. |
If measured value exceeds the standard value, replace the wheel.
|
Repair procedures Tire Wear • Using tires and wheels other than the recommended sizes can cause unusual handling characteristics and poor vehicle control, resulting in a serious accident.
Repair procedures Front Wheel Alignment • When using a commercially available computerized wheel alignment equipment to inspect the front wheel alignment, always position the vehicle on a level surface with the front wheels facing straight ahead.
Other information:
Kia Optima DL3 2019-2026 Service and Repair Manual: Lumbar Support System
Repair procedures Inspection 1. Remove the front seat back. (Refer to Body - "Front Seat Back Cover") 2. Disconnect the connector (A). 3. When the battery power is supplied to the motor connector, check the motor for smooth operation.
Kia Optima DL3 2019-2026 Service and Repair Manual: Blower Motor
Repair procedures Inspection 1. Connect the battery voltage and check the blower motor rotation. 2. If the blower motor does not operate well, substitute with a known-good blower motor and check for proper operation.
Categories
- Manuals Home
- Kia Optima Owners Manual
- Kia Optima Service Manual
- Heating, Ventilation and Air Conditioning
- Automatic Transaxle System
- Lift And Support Points
- New on site
- Most important about car
