Kia Optima DL3: Front Door / Front Door Outside Handle
Components and components location
| Component Location |
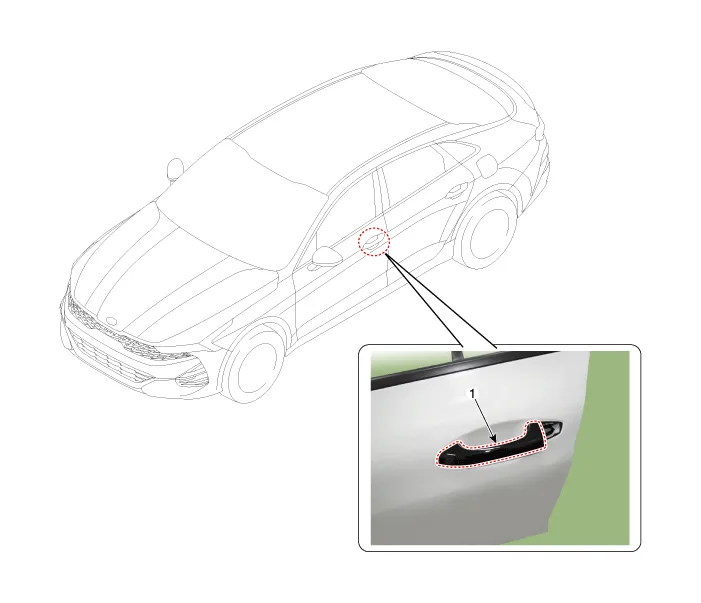
| 1. Front door outside handle
|
Repair procedures
| Replacement |
|

| 1. |
Remove the front door module. (Refer to Front Door - "Front Door Module") |
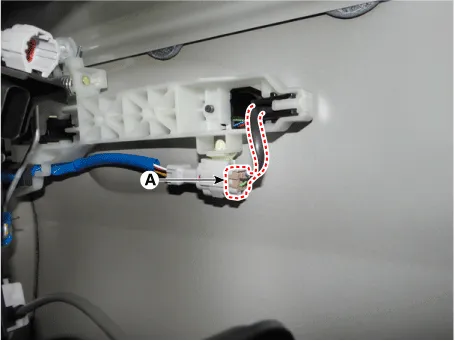
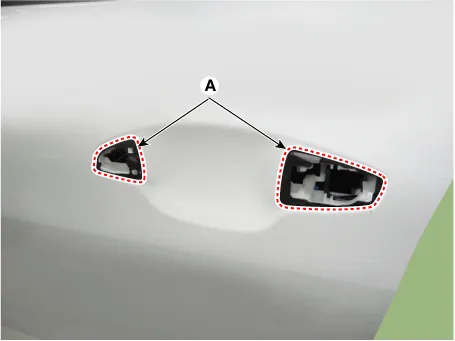
| 2. |
Press the lock pin and separate the front door outside handle connector (A).
|
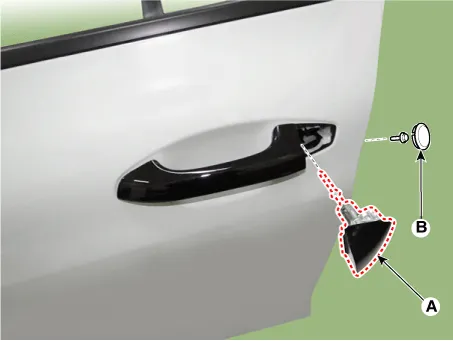
| 3. |
Remove the hole plug (B). |
| 4. |
After loosening the mounting bolt, then remove the front door outside handle cover (A).
|
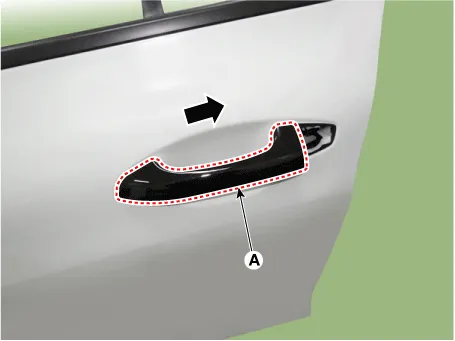
| 5. |
Remove the front door outside handle (A) by sliding it rearward.
|
| 6. |
To install, reverse the removal procedure.
|

Repair procedures Replacement 1. Remove the front door trim. (Refer to Front Door - "Front Door Trim") 2.
Repair procedures Replacement 1. Pull down the front door window glass to the lowest level by pressing the power window glass switch.
Other information:
Kia Optima DL3 2019-2026 Service and Repair Manual: Panorama Sunroof
C
Kia Optima DL3 2019-2026 Service and Repair Manual: Power Windows
Components and components location Component Location 1. Power window main switch 2. Rear window main switch 3. Front power window motor 4. Rear power window motor Description and operation Description Power Window Safety Function When the driver or passenger p
Categories
- Manuals Home
- Kia Optima Owners Manual
- Kia Optima Service Manual
- Suspension System
- Engine Mechanical System
- Body Electrical System
- New on site
- Most important about car
