
Kia Optima DL3: Evaporative Emission Control System / Fuel Tank Air Filter
Repair procedures
| Removal |
| 1. |
Disconnect the negative battery (-) terminal. |
| 2. |
Remove the [LH] rear wheel guard. (Refer to Body - "Rear Wheel Guard") |
| 3. |
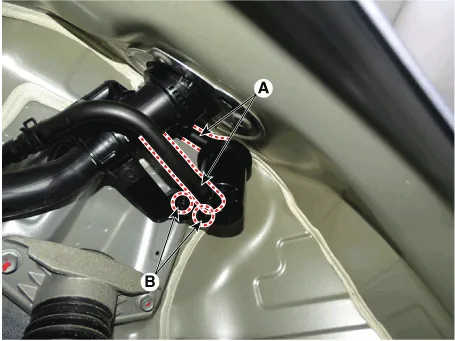
Disconnect the ventilation hoses (A) from the fuel tank air filter. |
| 4. |
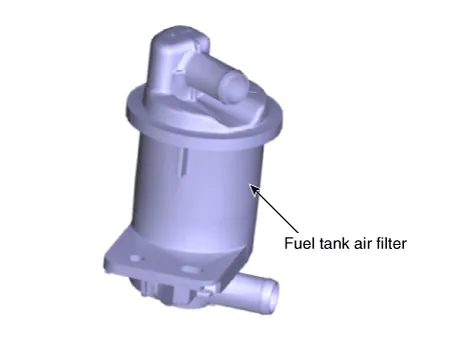
Remove the fuel tank air filter (B) after loosening the mounting bolt.
|
| Installation |
| 1. |
Install in the reverse order of removal. |
Description and operation Description A ratchet tightening device on the threaded fuel filler cap reduces the chances of incorrect installation, which would seal the fuel filler.
Specifications Specification Item Specification Coil Resistance (Ω) 22.0 - 26.0 [20°C (68°F)] Schematic diagrams Circuit Diagram Harness Connector Repair procedures Inspection 1.
Other information:
Kia Optima DL3 2019-2026 Service and Repair Manual: Overhead Console Lamp
Schematic diagrams Connector and Terminal Function [A Type] Connector A Pin E xcept Russia Region Russia only Function Function 1 Battery (+) Battery (+)
Kia Optima DL3 2019-2026 Service and Repair Manual: Intake Actuator
Components and components location Components Location 1. Intake actuator Description and operation Description The intake actuator is located at the blower unit. It regulates the intake door by a signal from the control unit.
Categories
- Manuals Home
- Kia Optima Owners Manual
- Kia Optima Service Manual
- Heating, Ventilation and Air Conditioning
- Lift And Support Points
- Air bag collision sensors
- New on site
- Most important about car
