Kia Optima DL3: Panorama Sunroof / Front Glass
Repair procedures
| Removal |
|
| 1. |
Press panorama sunroof switch to fully open the movable glass. |
| 2. |
Remove the roof side molding. (Refer to Body Side Moulding - "Roof Side Molding") |
| 3. |
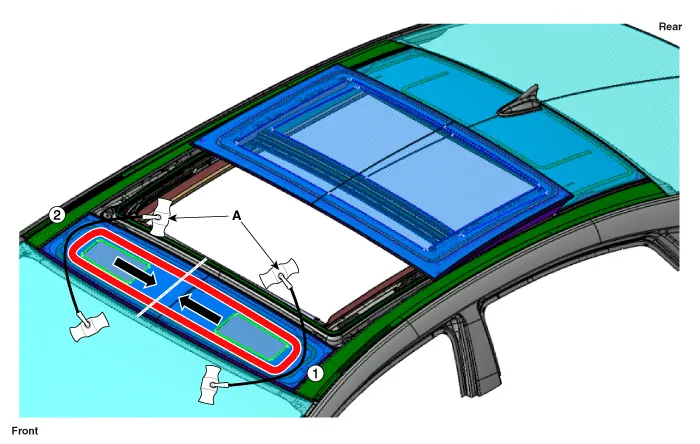
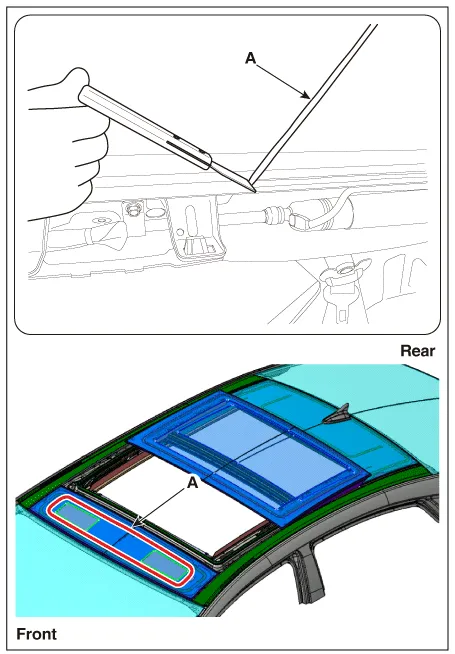
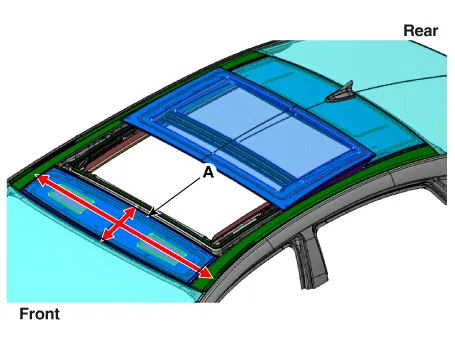
Pull the square wire (A) to the left and right, then apply a force in the direction of the arrow to cut off the residual sealant.
|
| 4. |
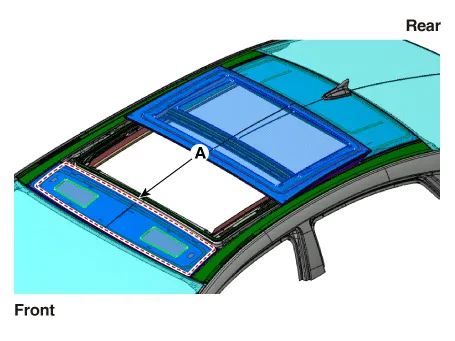
Remove the front glass (A) carefully without damaging it.
|
| Installation |
|
| 1. |
Install the roof side moulding. |
| 2. |
Press panorama sunroof switch to fully close the movable glass. |
| 3. |
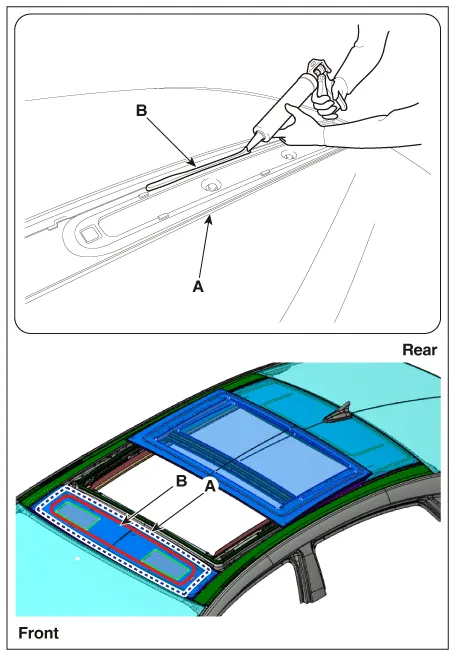
Use a blade to cut off residual sealant (A) around body panel.
|
| 4. |
Use alcohol or an air gun to clean up the edges of the body panel and front glass. |
| 5. |
Use a sealant gun to apply sealant (B) around body panel (A).
|
| 6. |
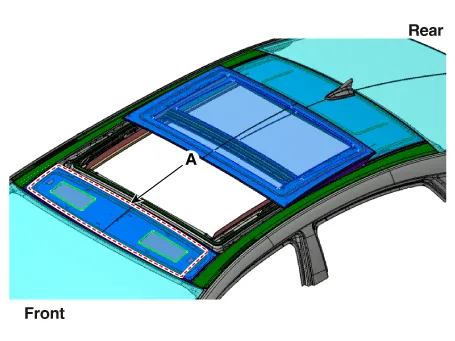
Install the front glass (A) loosely on the body panel.
|
| 7. |
Check step and gap before front glass (A) is fully mounted. |
| 8. |
Apply tape to around the front glass to prevent the glass from coming off.
|
Repair procedures Replacement 1. Open movable glass completely pressing panorama sunroof switch. 2. Remove the slide folding cover (A).
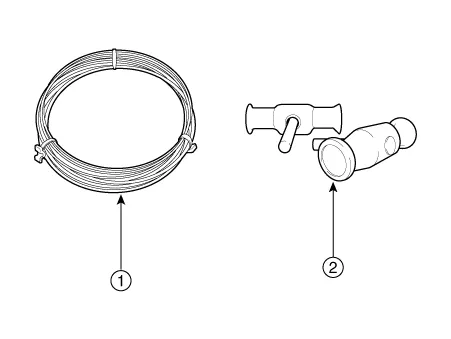
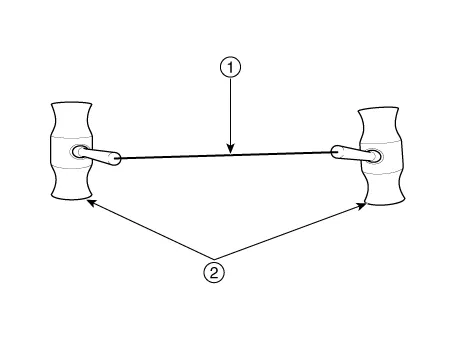
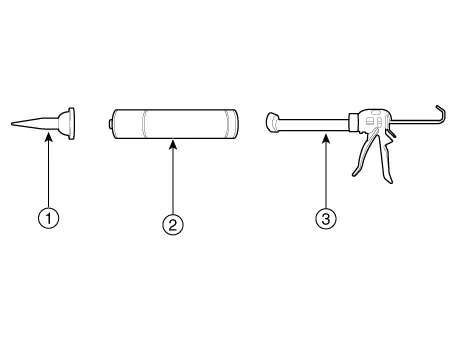
Repair procedures Removal • To remove the rear glass, use the tools shown in the following figure: [Tools Composition] ① Square wire ② Insert-type wire grip [Tool Assembly] • Insert and affix square wire ① into the insert hole of the wire grip ②.
Other information:
Kia Optima DL3 2019-2026 Service and Repair Manual: Integrated Memory Seat (IMS) Switch
Schematic diagrams Connector and Terminal Function Repair procedures Removal When prying with a flat-tip screwdriver or use a prying trim tool, wrap it with protective tape, and apply protective tape around the related parts, to prevent dam
Kia Optima DL3 2019-2026 Service and Repair Manual: Intake Actuator
Components and components location Components Location 1. Intake actuator Description and operation Description The intake actuator is located at the blower unit. It regulates the intake door by a signal from the control unit.
Categories
- Manuals Home
- Kia Optima Owners Manual
- Kia Optima Service Manual
- Engine Mechanical System
- Front Axle Assembly
- Cooling System
- New on site
- Most important about car


