Kia Optima DL3: Hood / Hood Assembly
Components and components location
| Component Location |
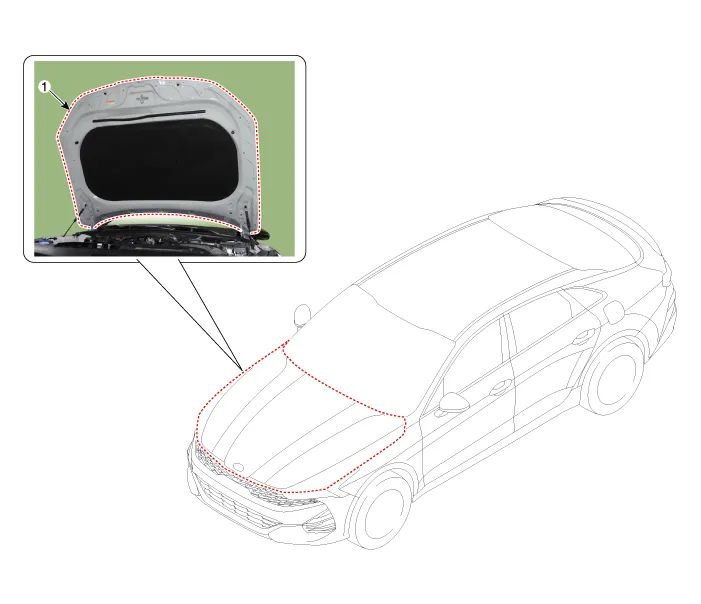
| 1. Hood assembly |
Repair procedures
| Replacement |
When removing the fender, wrap protective tape around a screwdriver or remover not to damage components. |

Removing or installing the hood requires an assistant. |

| 1. |
After loosening the hood hinge (A) mounting bolts, remove the hood assembly (B).
|
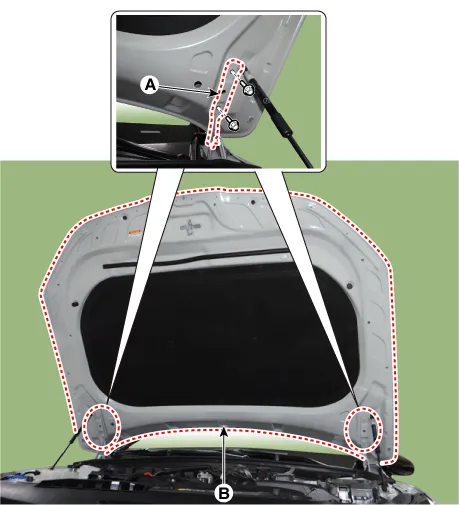
| 2. |
To install, reverse the removal procedure.
|
Repair procedures Adjustment 1. After loosening the hinge (A) mounting bolt, adjust the hood (B) by moving it up and down or from side to side and tighten the bolt.
Repair procedures Replacement 1. Using a clip remover, remove the clips and then the hood insulator pad (A). Be careful not to scratch the hood panel.
Other information:
Kia Optima DL3 2019-2026 Service and Repair Manual: Multifunction Switch
Specifications Specifications Items Specifications Rated voltage Front fog lamp switch 5 V Lighting Auto lighting Dimmer & Passing Turn signal lamp Wiper Was
Kia Optima DL3 2019-2026 Service and Repair Manual: Climate Control Air Filter
Description and operation Description The climate control air filter is located in the blower unit. It eliminates foreign materials and odor. The particle filter performs a role as an odor filter as well as a conventional dust filter to ensure comfortable interior environment.
Categories
- Manuals Home
- Kia Optima Owners Manual
- Kia Optima Service Manual
- Timing Chain
- Cooling System
- Body (Interior and Exterior)
- New on site
- Most important about car
