Kia Optima DL3: Interior Trim / Front Pillar Trim
Components and components location
| Component Location |
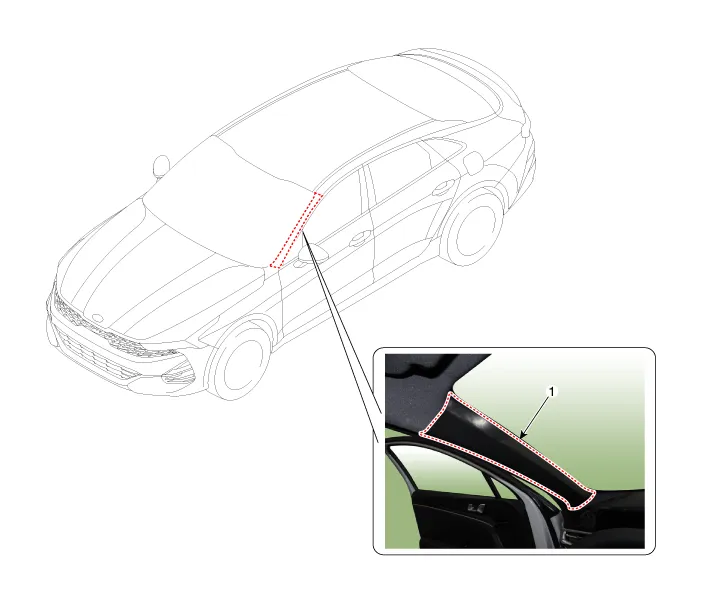
| 1. Front pillar trim |
Repair procedures
| Replacement |
|

|

| 1. |
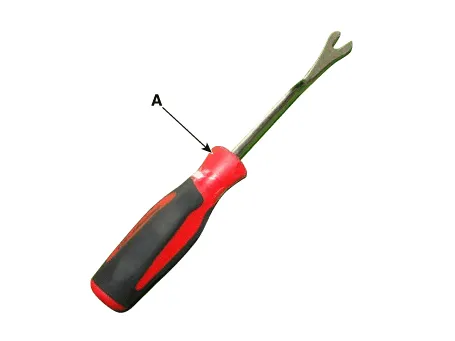
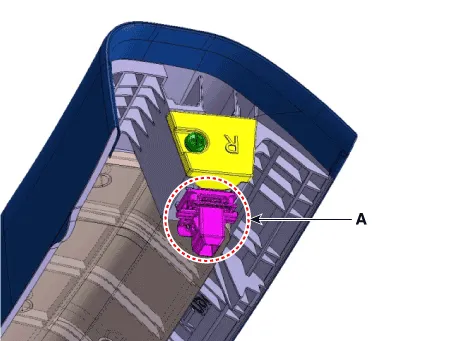
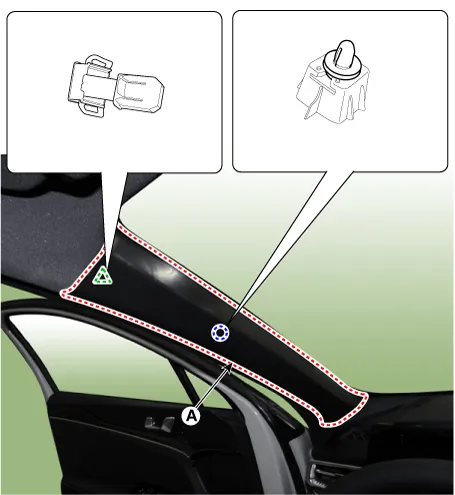
Remove the front pillar trim.
|
| 2. |
To install, reverse the removal procedure.
|

Components and components location Component Location 1. Cowl side trim Repair procedures Replacement Put on gloves to prevent hand injuries.
Components and components location Component Location 1. Center pillar lower trim 2. Center pillar upper trim Repair procedures Replacement [Center pillar lower trim] Put on gloves to prevent hand injuries.
Other information:
Kia Optima DL3 2019-2026 Service and Repair Manual: Headlamps
Components and components location Component Location 1. Low beam 2. High beam 3. Daytime Running Light / Position lamp 4. Low assist beam 5. Turn signal lamp Schematic diagrams Connector and Terminal Function Connector Terminal Function
Kia Optima DL3 2019-2026 Service and Repair Manual: Overhead Console Lamp
Schematic diagrams Connector and Terminal Function [A Type] Connector A Pin E xcept Russia Region Russia only Function Function 1 Battery (+) Battery (+)
Categories
- Manuals Home
- Kia Optima Owners Manual
- Kia Optima Service Manual
- Brake System
- Floor Console Assembly
- Suspension System
- New on site
- Most important about car
